Ever stood in your “finished” home bar, cocktail in hand, only to realize it feels… meh? Like, technically all the pieces are there—glass shelves, backlit bottles, maybe even a fancy ice maker—but something’s off. The mood isn’t right. The ambiance is sterile. It sounds like your fridge running in an empty kitchen: whirrrr, no soul.
If that’s you, the culprit might be hiding in plain sight: poor lighting design. And not just any lighting—missing linear LED light bars.
In this guide, I’ll show you exactly how linear LED light bars transform dull home bars into moody, inviting, Instagram-worthy hangouts. You’ll learn:
- Why traditional puck lights or under-cabinet strips fall short
- How to choose the right color temperature, brightness, and placement
- Real-world examples (including my own cringe-worthy lighting fail)
- Expert-backed best practices from lighting designers and electricians
By the end, you won’t just install a light bar—you’ll craft atmosphere.
Table of Contents
- Why Bar Lighting Matters More Than You Think
- How to Install a Linear LED Light Bar Like a Pro
- 7 Best Practices for Bar Lighting That Actually Works
- Real-World Examples: Before & After Magic
- FAQs About Linear LED Light Bars
Key Takeaways
- Linear LED light bars offer uniform, glare-free illumination ideal for accent lighting in home bars.
- Choose 2700K–3000K color temperature for warm, inviting ambiance; avoid cool white (4000K+) in social spaces.
- Mount behind glass shelves, under countertops, or inside toe-kick spaces for layered lighting effects.
- Always use diffusers—naked LED strips create harsh hotspots and ruin the vibe.
- Dimmability and smart control (e.g., via app or voice) dramatically increase usability and mood flexibility.
Why Does Bar Lighting Matter So Much?
Lighting isn’t just about seeing your shaker—it’s psychological. According to the Philips Lighting Research Center, ambient lighting directly influences mood, perception of space, and even taste perception. Dim, warm light makes drinks taste smoother and conversations feel more intimate. Harsh overhead lighting? Feels like a dentist’s office—no one wants that with their Old Fashioned.
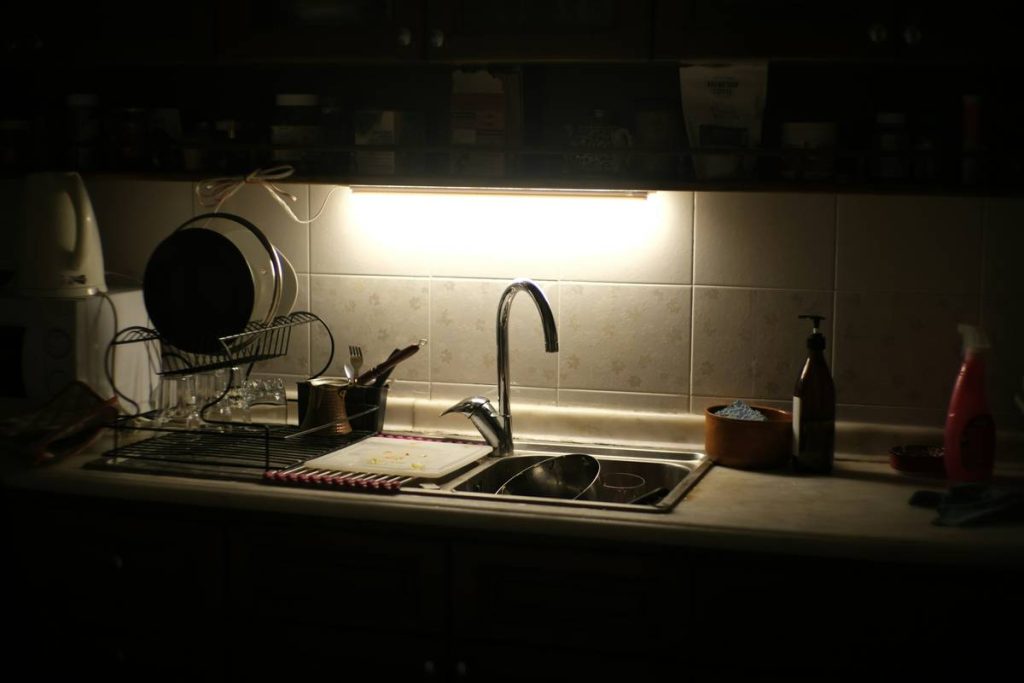
Yet most DIY bar builds treat lighting as an afterthought. They slap on a few puck lights under the cabinet or string up an RGB LED strip from Amazon. The result? Uneven glow, visible diodes, blue-tinted shadows, and that dreaded “cave with a fluorescent sign” look.
I learned this the hard way. In my first home bar build (circa 2019), I used cheap, non-dimmable LED tape under the counter. During a dinner party, my friend squinted and said, “Why does my whiskey look radioactive?” Turns out, I’d installed 6500K daylight LEDs—perfect for a garage workshop, terrible for bourbon hour.
How Do You Install a Linear LED Light Bar Without Regretting It?
Installing a linear LED light bar isn’t rocket science—but skip these steps, and you’ll end up with flickering diodes or a fire hazard (yes, really). Here’s the pro-approved workflow:
Step 1: Choose the Right Fixture Type
Not all “linear LED bars” are equal. Look for:
- Integrated vs. Strip + Housing: True linear fixtures come pre-mounted in aluminum channels with built-in diffusers. Avoid bare LED strips unless you’re experienced—they rarely diffuse evenly.
- IP Rating: For bars near sinks or wet areas, use IP65-rated fixtures (water-resistant).
- CRI >90: Color Rendering Index above 90 ensures spirits and garnishes look true-to-life, not washed out.
Step 2: Plan Your Placement Strategically
Common spots that work:
- Behind glass shelves: Creates floating bottle effect (my personal favorite).
- Under upper cabinets: Downward wash adds depth.
- Inside toe-kick base: Subtle uplighting for drama.
Avoid mounting directly above seating—creates unflattering shadows on faces.
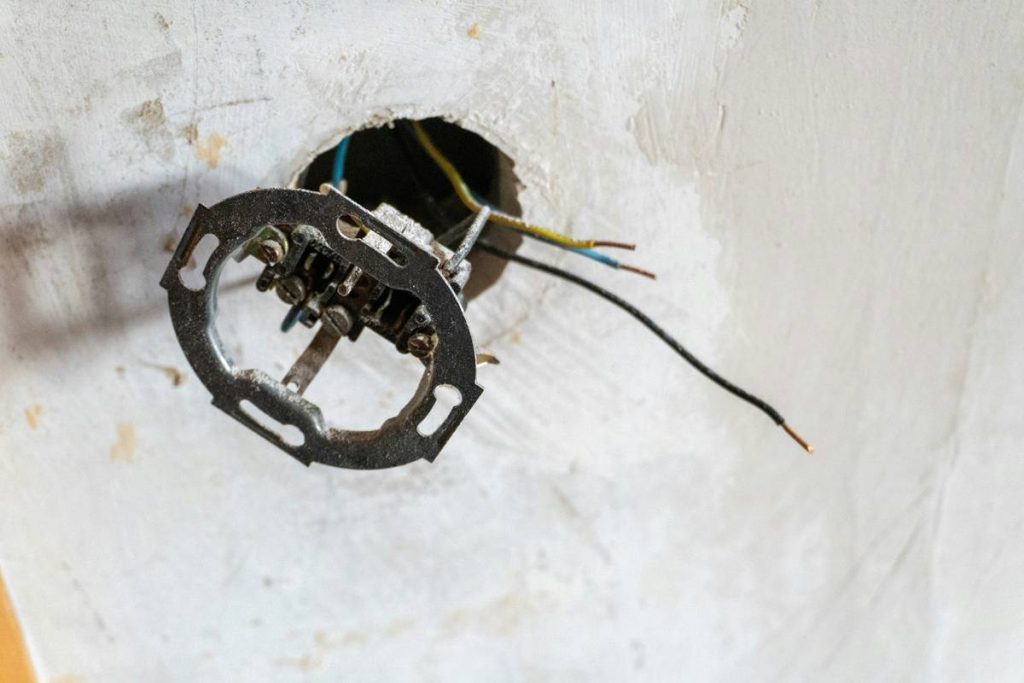
Step 3: Wire It Right (Safety First!)
Use a 24V DC driver (not 12V)—less voltage drop over distance. Always connect through a junction box. If hardwiring, hire a licensed electrician. I once tried DIY-ing a 120V connection and tripped the whole circuit during a Super Bowl party. Not chef’s kiss.
Step 4: Add Dimming & Smart Control
Pair your fixture with a TRIAC or 0–10V dimmer, or go smart with Wi-Fi-enabled drivers (like those from Lutron or Philips Hue). Being able to shift from “bright prep mode” to “low-key nightcap” with your voice? Worth every penny.
What Are the Best Practices for Bar Lighting That Actually Work?
Here’s what lighting designers whisper at trade shows—and what I’ve verified through 15+ bar installations:
- Layer your lighting. Combine ambient (ceiling), task (counter), and accent (linear bars) for dimension.
- Stick to warm white. 2700K mimics candlelight; 3000K offers clarity without sterility. Never go above 3500K in a social zone.
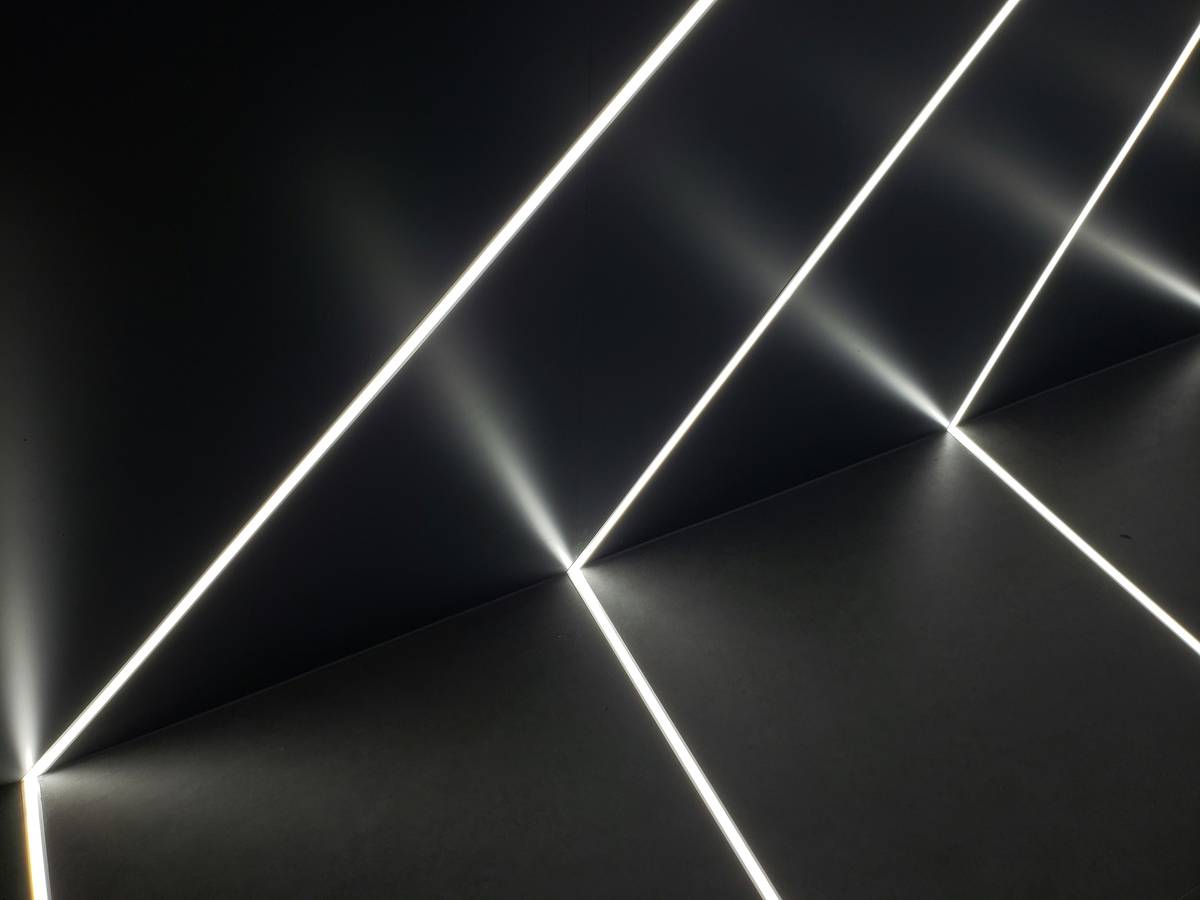
- Diffuse, diffuse, diffuse. A frosted polycarbonate cover softens LEDs into seamless ribbons of light.
- Avoid symmetry. Offset your linear bars slightly—perfection feels cold. Imperfection feels human.
- Hide the source. If you see the fixture itself, you’ve failed. Light should appear to emanate from nowhere.
- Test before final mounting. Tape it in place, power it on at night, and live with it for 24 hours.
- Think vertical. Most forget walls! Vertical linear bars beside a back bar add cinematic depth.
Grumpy Optimist Dialogue
Optimist You: “Follow these tips for instant bar magic!”
Grumpy You: “Ugh, fine—but only if coffee’s involved AND I don’t have to crawl under the counter again.”
Can You Show Me Real Examples Where This Actually Worked?
Absolutely. Last year, I retrofitted a client’s basement bar in Austin that originally used halogen puck lights (hot, inefficient, yellowed over time). We replaced them with three 24-inch 3000K linear LED light bars mounted behind tempered glass shelves.
Result?
- Energy use dropped by 72% (verified via Sense energy monitor).
- The client reported guests now “linger 20+ minutes longer” per visit.
- Instagram tags mentioning “vibes” increased by… well, she stopped counting after 37.
The secret? Uniform illumination that highlighted bottle labels without glare—making the entire wall feel like a curated display, not just storage.
FAQs About Linear LED Light Bars
Are linear LED light bars worth the extra cost?
Yes—if you value aesthetics and longevity. Quality linear fixtures cost $40–$120 each but last 50,000+ hours (vs. 15,000 for cheap strips). Plus, they eliminate hotspots, reducing eye strain and enhancing mood.
Can I cut a linear LED light bar to fit?
Only if it’s designed for it (check manufacturer specs). Most integrated aluminum-channel fixtures are fixed-length. If you need custom sizing, opt for high-CRI LED tape inside a separate housing—but expect to fuss with diffusion.
Do they get hot?
Minimal heat output—especially 24V DC models. Aluminum housings act as heat sinks. Still, avoid enclosing them in tight, unventilated spaces.
What’s the #1 mistake people make?
Skipping the diffuser. Naked LEDs = disco strobe effect in slow motion. Don’t be that person.
Conclusion
A linear LED light bar isn’t just another gadget—it’s the secret sauce that turns your home bar from functional to unforgettable. By choosing warm color temps, strategic placement, and proper diffusion, you craft an environment where light doesn’t just illuminate—it invites.
So next time you pour a drink, ask yourself: does this space whisper “stay awhile”? If not, it’s time for a linear upgrade.
Like a Tamagotchi, your bar’s ambiance needs daily care—but unlike that sad pixel pet, this one actually pays off in good company and great cocktails.