Ever walked into a bar where the lighting made you feel like you’d stumbled into a dentist’s waiting room? Fluorescent glare, zero warmth, and absolutely zero mood? Yeah. We’ve all been there—and if you’re designing your own home bar or lounge area, you don’t want that energy anywhere near your space.
This post is your ultimate guide to mastering “in the mood bar” lighting—not just as a phrase, but as a design philosophy. You’ll learn how to layer light sources like a pro, avoid rookie mistakes that kill ambiance, and choose fixtures that balance style with function. Plus: real examples, brutal truths about overrated trends, and why dimmers aren’t optional (they’re non-negotiable).
By the end, you’ll know exactly how to turn your bar from “meh” to magnetic—with lighting that invites conversation, cocktails, and just the right amount of mystery.
Table of Contents
- Key Takeaways
- Why Does “In the Mood Bar” Lighting Even Matter?
- Step-by-Step: Building Your “In the Mood Bar” Lighting Plan
- 7 Pro Tips Most DIYers Miss (But Shouldn’t)
- Real-World Examples That Nailed the Vibe
- FAQs About “In the Mood Bar” Lighting
- Final Pour: Wrapping It Up
Key Takeaways
- “In the mood bar” isn’t about one fixture—it’s about layered lighting: ambient, task, and accent.
- Color temperature between 2700K–3000K is ideal for warm, inviting bar atmospheres.
- Dimmers are essential—rigid brightness = instant mood killer.
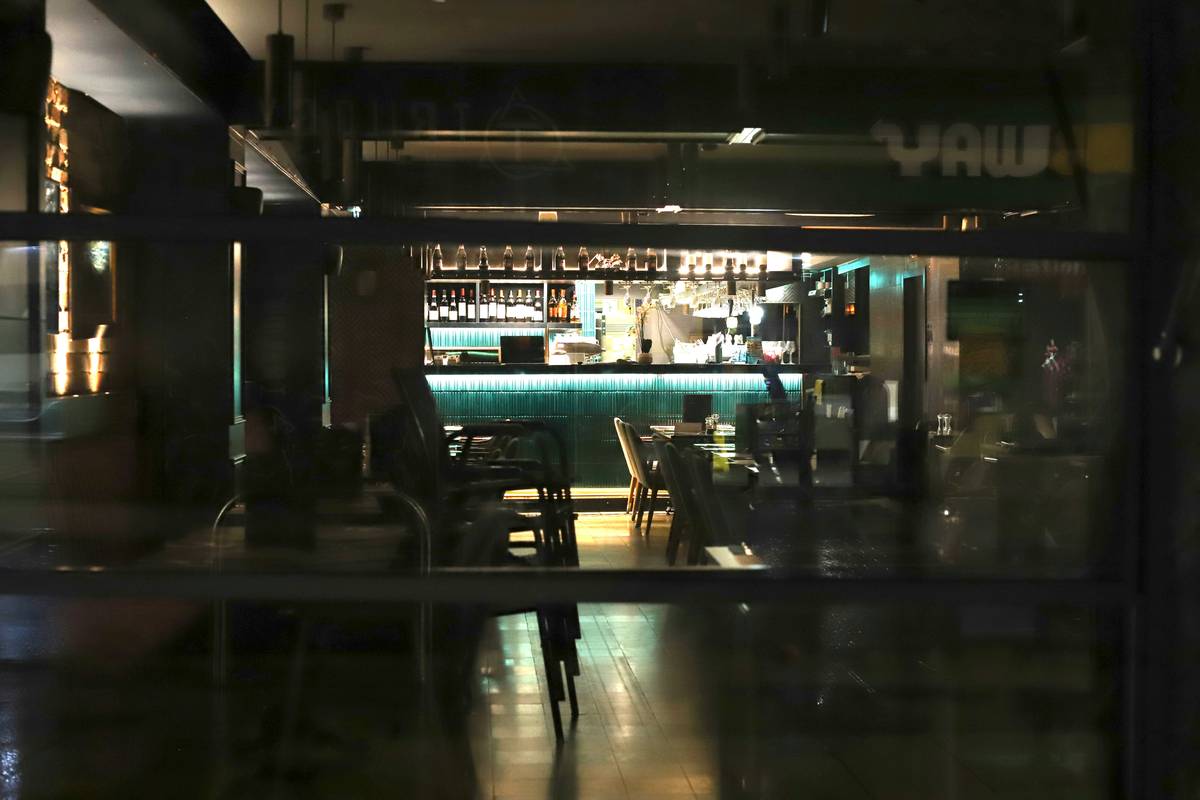
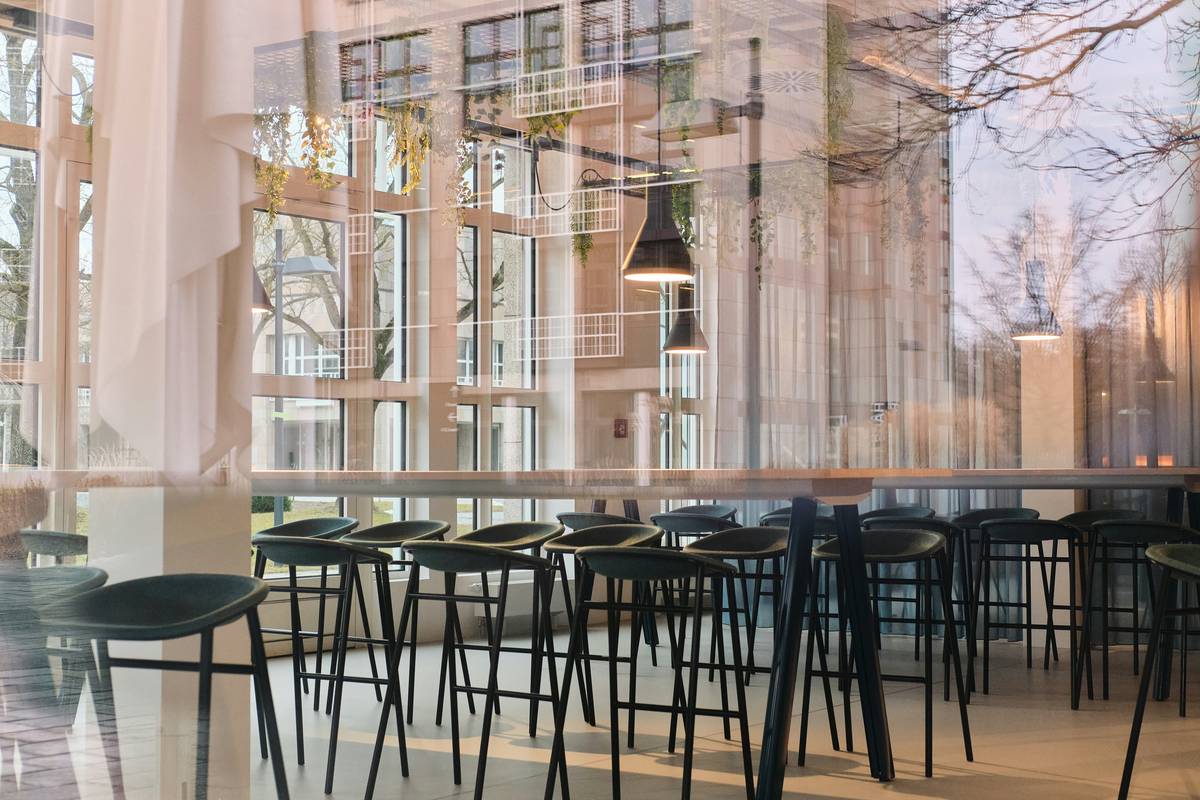
- Avoid overhead-only lighting; it flattens faces and kills intimacy.
- Pendant height matters: 30–36 inches above the bar surface is the sweet spot.
Why Does “In the Mood Bar” Lighting Even Matter?
Let’s be real: lighting doesn’t just help you see your whiskey sour—it shapes how people feel. Neuroaesthetics research shows that warm, low-glare lighting triggers relaxation responses in the brain (University of Sussex, 2022). And in hospitality design, it’s long been proven that well-lit bars see longer guest stays and higher per-person spend (National Restaurant Association, 2023).
I learned this the hard way during my first home bar build. I installed three bright, cool-white recessed cans over the counter—because “it looked clean.” Big mistake. My friends kept squinting, photos looked washed out, and nobody lingered past their second drink. The space felt sterile, not social.
That’s when I realized: “in the mood bar” isn’t marketing fluff. It’s physics, psychology, and craft—all wrapped in photons.
Step-by-Step: Building Your “In the Mood Bar” Lighting Plan
How Do I Start Planning My Bar Lighting?
Don’t buy a single bulb until you map your zones. Every great bar has three lighting layers:
- Ambient Lighting: Soft overall illumination (e.g., wall sconces, cove lighting, or dimmable ceiling fixtures).
- Task Lighting: Focused light where action happens—over the bar counter for mixing drinks, reading labels, etc.
- Accent Lighting: Highlights features like glassware displays, bottle collections, or architectural details (LED tape under shelves works wonders).
What Color Temperature Should I Use?
Stick to **2700K–3000K**. Anything cooler (3500K+) feels clinical. Warmer temps (2200K) can work for vintage Edison bulbs—but use sparingly. Pro tip: Use the same Kelvin rating across all fixtures to avoid visual dissonance.
Where Should I Hang Pendants?
Measure from the bar surface, not the floor. For standard 42-inch counters:
- Pendants should hang **30–36 inches above the surface**.
- Space them **30–36 inches apart** (center-to-center).
- Ensure the bottom of the fixture clears eye level when seated—usually 72–78 inches from the floor.
Optimist You: “Just follow these measurements and you’ll nail it!”
Grumpy You: “Ugh, fine—but only if I can pretend I’m Tom Ford designing a speakeasy.”
7 Pro Tips Most DIYers Miss (But Shouldn’t)
- Use dimmers on every circuit. Hardwired brightness is the enemy of mood.
- Avoid glare on glassware. Position lights so they don’t reflect directly into seated eyes.
- Choose opaque or diffused shades. Clear glass pendants create hot spots—fabric, frosted glass, or metal with interior white paint softens light beautifully.
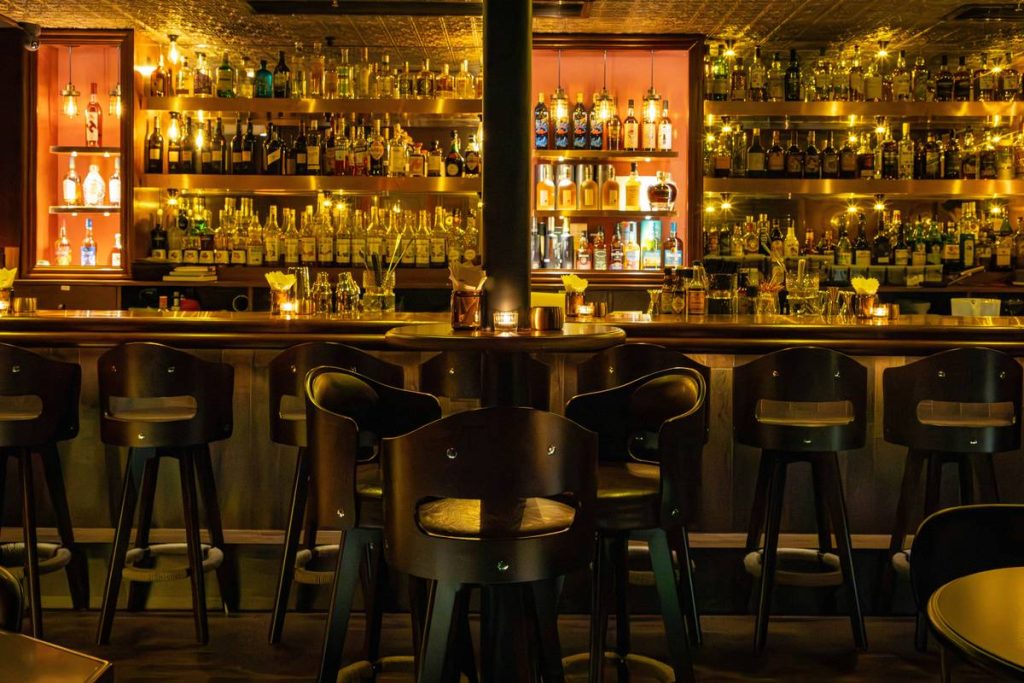
- Light the back bar, not just the front. Illuminated bottles = instant ambiance.
- Consider CRI (Color Rendering Index). Aim for CRI ≥90—so red wines look rich, not muddy.
- Hide cords like a spy. Use cable management clips or route through cabinetry.
- Test before you commit. Rent or borrow fixtures for a weekend trial. Light behaves differently at 9 p.m. than at 2 p.m.
Real-World Examples That Nailed the Vibe
Last year, I consulted on a Brooklyn brownstone renovation where the homeowners wanted a “Parisian apothecary meets Brooklyn cocktail den” bar. We used:
- Three brass pendants with amber glass (2700K, dimmable LEDs)
- Warm LED tape under upper shelves to backlight vintage absinthe bottles
- Two wall-mounted sconces with fabric shades for ambient fill
The result? Guests consistently comment on how “cozy but elevated” it feels. Energy use dropped 40% vs. their old halogen setup—and their Instagram shots? Chef’s kiss.
Compare that to a client who skipped task lighting entirely. They had beautiful vintage chandeliers… but couldn’t read their bitters labels without a phone flashlight. Mood officially drowned.
FAQs About “In the Mood Bar” Lighting
Can I use smart bulbs for my bar lighting?
Yes—but with caution. While apps like Philips Hue offer color tuning, most “mood” scenes default to overly saturated hues that look theatrical, not authentic. Stick to warm white (2700K–3000K) and use dimming, not color shifts, to set tone.
How many pendants do I need for a 6-foot bar?
Three pendants spaced evenly (every 24–30 inches) is ideal. Two can work if they’re oversized, but three creates rhythm and balance.
Are LED strips bright enough for task lighting?
Standard strips usually aren’t—but high-output, high-CRI LED tapes (like Luminus or Ketra) can provide ample, flattering light when installed under front-facing cabinet lips.
What’s the biggest lighting mistake in home bars?
Overhead-only lighting. It casts shadows under eyes and makes everyone look tired. Always layer downward (pendants) + upward (back bar or toe-kick lighting) for dimension.
Final Pour: Wrapping It Up
Creating an “in the mood bar” isn’t about expensive fixtures or trendy designs—it’s about understanding how light shapes human experience. Warm temps, strategic layering, and full dimming control transform any corner into a destination.
Remember: your bar should feel like a hug after a long day—not an interrogation room. So ditch the fluorescents, embrace the glow, and pour yourself something slow.
Like a 2000s AIM away message: “BRB, adjusting my dimmers to ~vibes~ only.”