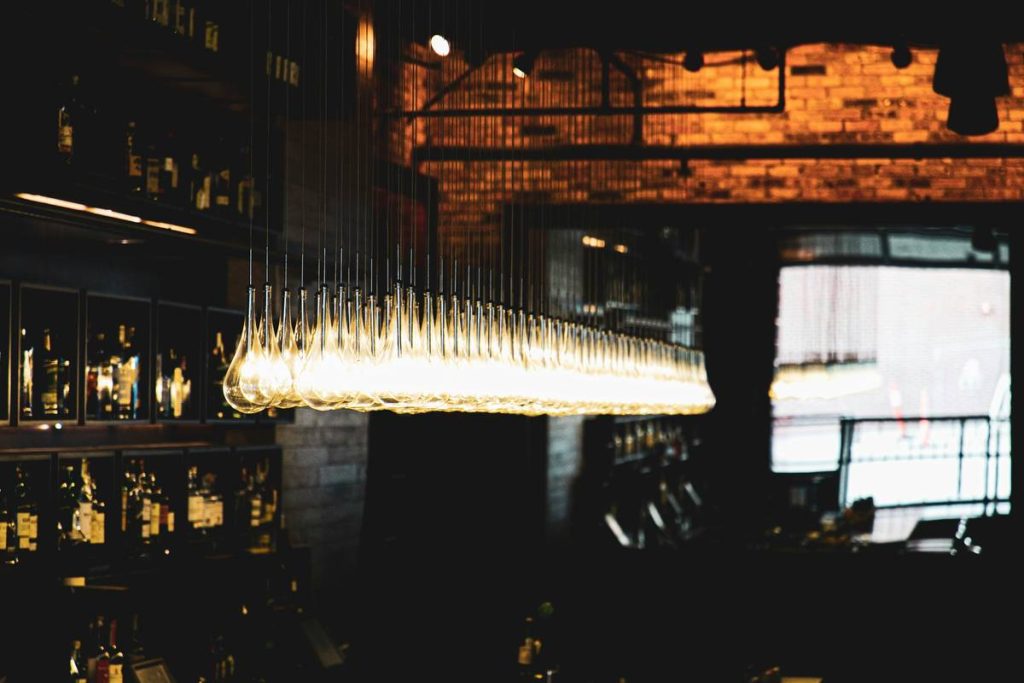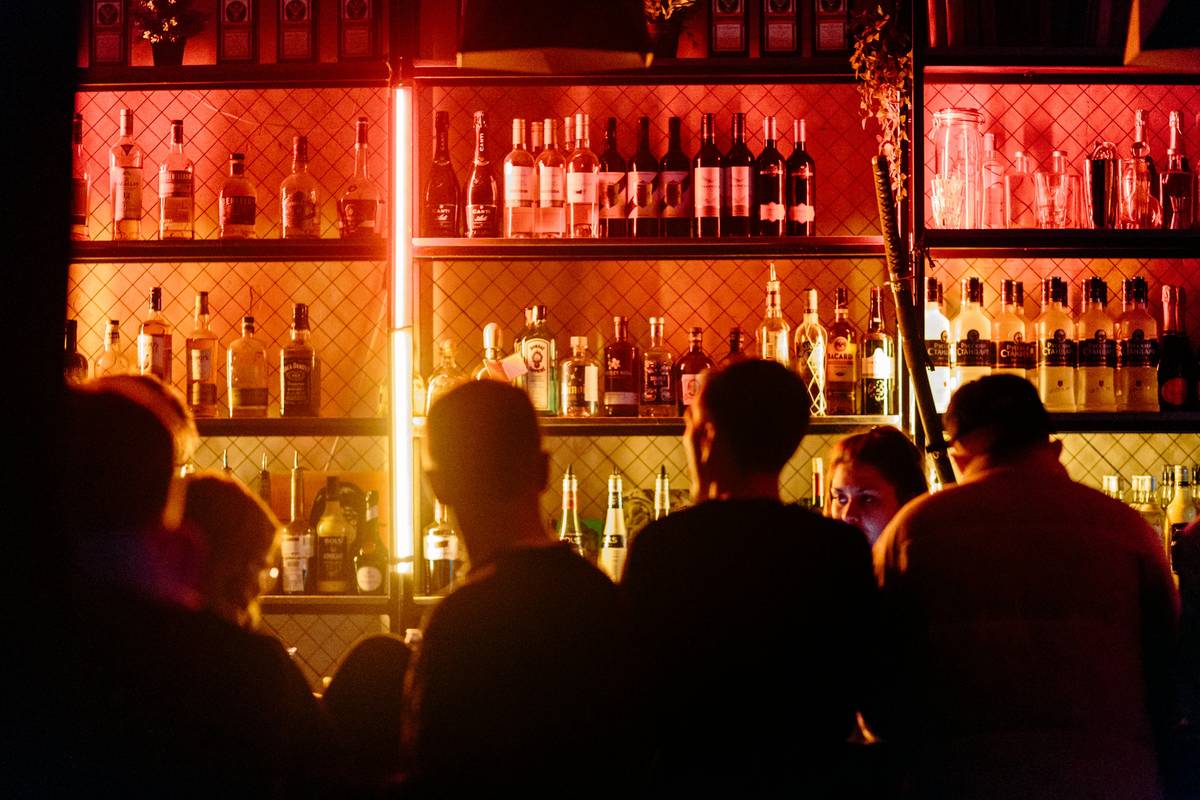
Your home bar feels flat — like a photo taken under fluorescent office lights. You’ve added bottles, stools, maybe even a neon sign. But something’s still off. The vibe lacks depth, warmth, definition. That’s because most DIYers treat lighting as an afterthought. Here’s the fix: the light bar lighting—not just installed, but curated.
Why Most Bar Lighting Fails Before Last Call
People slap on LED strips under shelves and call it a night. Big mistake. Under-cabinet lighting alone creates harsh shadows on faces and turns glassware into glare traps. And those pendant clusters? They look great in magazines—but only if you have 10-foot ceilings and a lighting designer on retainer.
The real issue isn’t brightness. It’s balance. Bar lighting lives at the intersection of ambient mood and task clarity—too dim, and you can’t read labels; too bright, and your whiskey loses its mystique. Most fail because they ignore vertical layering: downlight, backlight, accent—all working together.
The Light Bar Lighting: A Layered Blueprint
Forget one-size-fits-all kits. Build your system in phases, starting from the foundation up. This isn’t about gadgets—it’s about perception.
Select Your Ambient Base First
Begin with warm-white (2700K–3000K) recessed or track lighting angled toward the back wall. This washes the entire zone in softness without spotlighting dust on bottles. Skip cool white—it reads sterile, not social.
Add Backlighting for Drama
Mirror-backed cabinets or floating shelves with hidden LED tape create a luminous halo. Pro tip: Use diffuser channels—bare LEDs scream “hardware store,” not “speakeasy.” Position them to graze bottle contours, not flood them.
Integrate Task Points Strategically
You need precision where hands work: over the ice bin, near the shaker station. Mini puck lights or directional micro-spots (dimmable!) solve this. Just two—no more. Over-illumination kills intimacy.
| Lighting Layer | Product Type | Color Temp | Avg. Cost | Mistake to Avoid |
|---|---|---|---|---|
| Ambient Base | Recessed Downlights / Track Heads | 2700K–3000K | $80–$200 per fixture | Placing directly over seating—not the bar surface |
| Backlight Accent | LED Tape + Aluminum Channel | 2700K (consistent!) | $25–$60 per linear foot | Skipping diffusers = visible diodes |
| Task Points | Dimmable Puck or Mini Spot | 3000K max | $15–$40 each | Using non-dimmable LEDs |
The Industry Secret: Color Rendering > Brightness
Here’s what electricians won’t tell you: lumens lie. A 1600-lumen strip can still make bourbon look like dishwater if the CRI (Color Rendering Index) is below 90. High-CRI LEDs—90+—reveal true amber tones in aged spirits and rich reds in vermouth. Most cheap “bar lighting kits” use 80 CRI junk. You’re not lighting a garage—you’re showcasing liquid art. Spend the extra $12 per foot. Your Instagram—and your guests—will notice.
And don’t mix color temps across layers. One degree off between your backlights and pendants creates a sickly green cast. Buy all components from the same batch.
Frequently Asked Questions
Can I install the light bar lighting myself?
Yes—if you stick to low-voltage LED systems (12V/24V). Hardwired mains voltage? Hire an electrician. Safety > savings.
What’s the ideal brightness for a home bar?
Aim for 150–300 lux on the countertop. Enough to see labels clearly, but low enough to keep the mood relaxed. Dimmers are non-negotiable.
Should I use RGB or tunable white lights?
Avoid RGB unless you’re running a nightclub. Tunable white (2700K–4000K) offers flexibility—but stick to warm settings 95% of the time. Cool tones kill cocktail hour.